Users
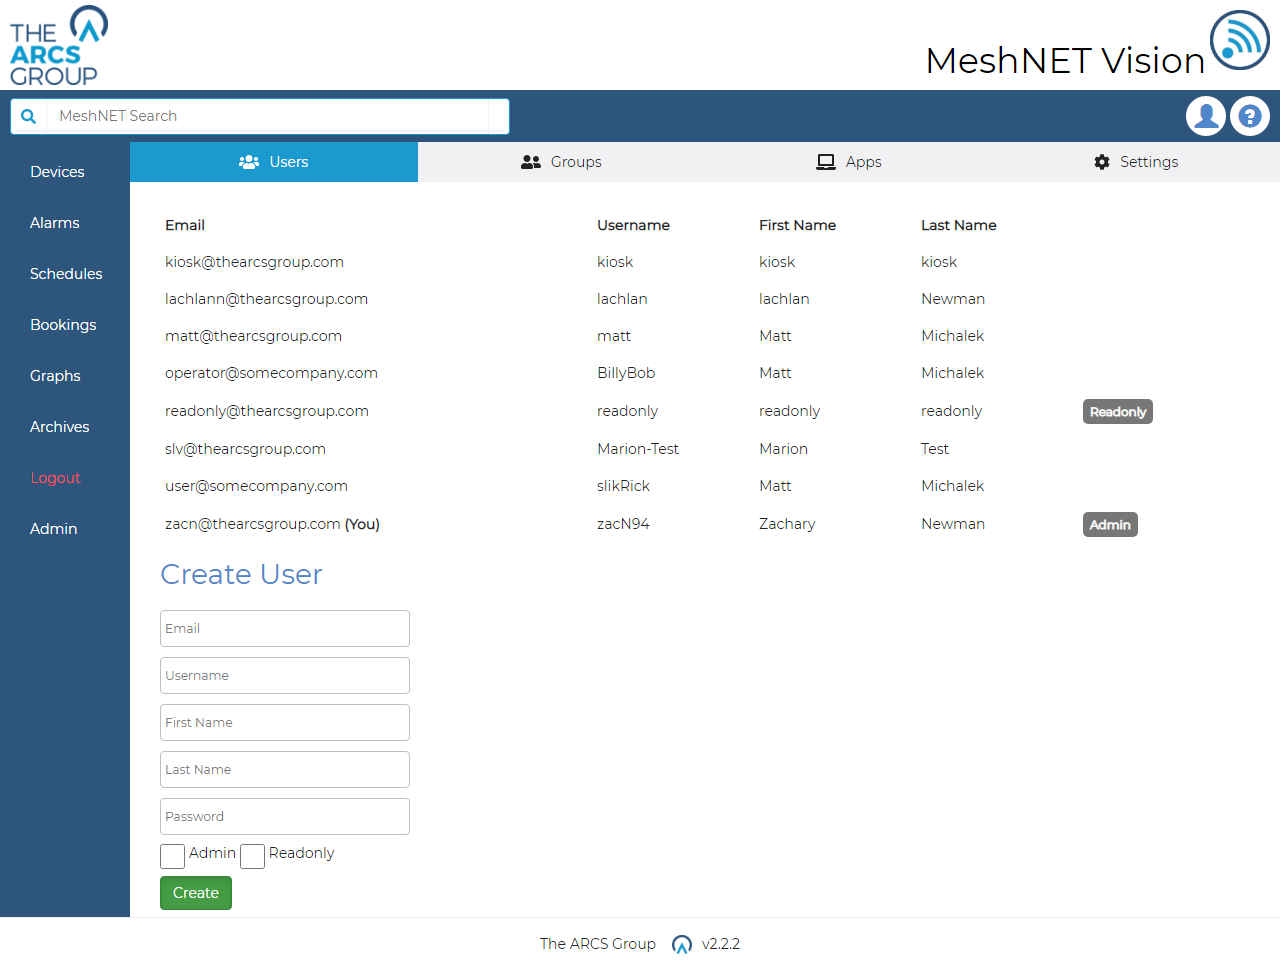
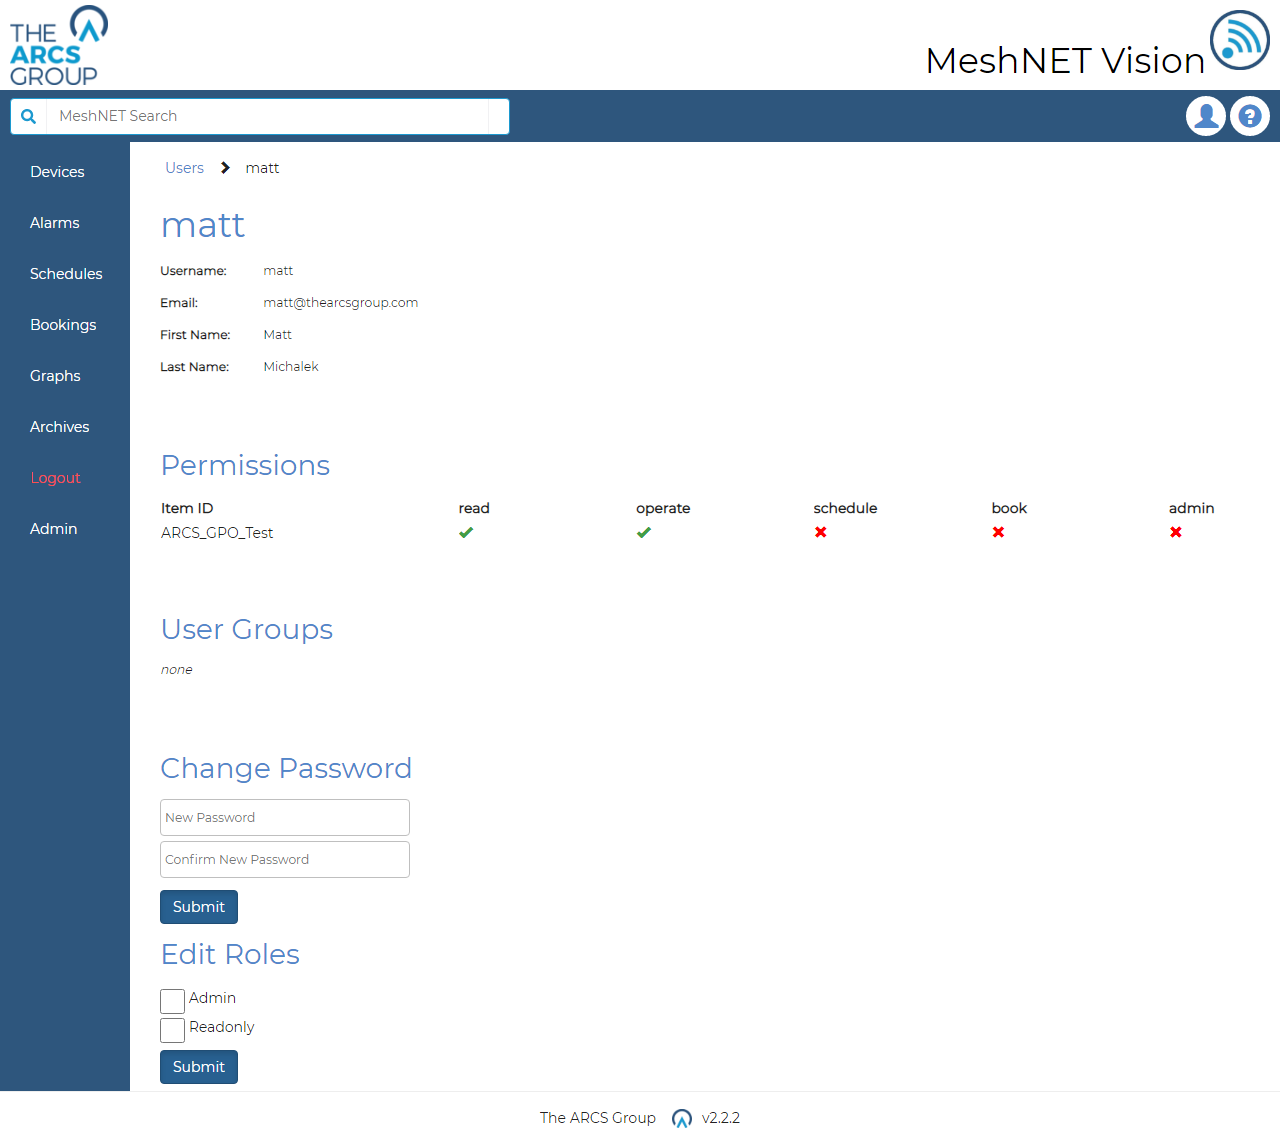
This section explains how administrators can manage users. Administrators can view the existing users in the system by selecting the "Users" option from the navigation dropdown menu (see Figure 3). For non admin users this section of the menu will be absent. The user’s page (see Figure 36) provides a list of all users including their email, username, first name, last name and roles. Admins can select these users to go to the users own page (see Figure 37) where they can alter the users settings. By default, users with neither admin nor Read Only roles have no access to any devices or group pages.
Admin Users#
Admin users will show an "Admin" badge in their roles on the user’s page (see Figure 36). Admin users have permission to do anything in the system. Admin also have access to additional functionality that non admin user do not. These are:
- Ability to view Users and Groups pages
- Ability to create users
- Ability to edit other non admin users passwords
- Ability to edit other non admin users roles
- Ability to create and edit user groups
- Ability to delete user groups
- Ability to edit, create and delete permissions on all device groups
- Ability to edit and create applications
- Ability to edit settings (see 11)
- Ability to create root device groups (see 2.1) Note: Admin permissions on a device group are different to a system wide admins. System wide admin have all the abilities in the above list while device group admins only have to addition ability to create, edit and delete permissions on the device group they are admin for. This allows the system to designate admin responsibilities on a more granular level. 12.2 READ ONLY USERS
Read-Only Users#
Read Only users will show a "Read Only" badge in their roles on the user’s page (see Figure 36). Read Only users can view all devices and groups but have no ability to edit, create or delete anything in the system. These users can be created to allow people to access the system in a purely observational manner. Note: while these users have the ability to view all devices and groups. Non Read Only users (besides admins) must be assigned read permissions on a group to view its page and its devices pages.
Creating Users and Profiles#
Administrators can create new users by filling out and submitting the form at the bottom of the user’s page (see Figure 36). The check boxes provide the ability to give the new user admin or Read Only roles (see 12.1 and 12.2). Passwords must be at least 8 characters long and contain two capital letters and two numbers. Once created users may login with either their set email or username and password (see 2.1).
Users can change their own password for privacy by navigating profile page (Figure 38) and filling out the change password form. The profile page can be accessed by click the human figure icon in the top right corner of the site. The profile page also shows a variety of user information relating to their account including username, email and credentials.
Editing Passwords#
Administrators can edit all non admin users’ passwords. Admins cannot edit the passwords of other admin users. To edit a non admin users password, select the user from the list on the user page (see Figure 36). This will take the admin to the users own page (see Figure 37) where the admin will be able to change the users password using the change password form. For admin editing the password of non admin users they do not have to supply the current password of that user to change their password. Admin's however do have to supply their current password when updating their own accounts password.
Editing Roles#
Administrators can edit the roles of non admin user's. To edit a non admin users roles, select the user from the list on the user page (see Figure 36). This will take the admin to user's own page (see Figure 37). Admins can then use the edit roles form to assign the user admin (see 12.1) on Read Only (see 12.2) permission roles.
