Schedules
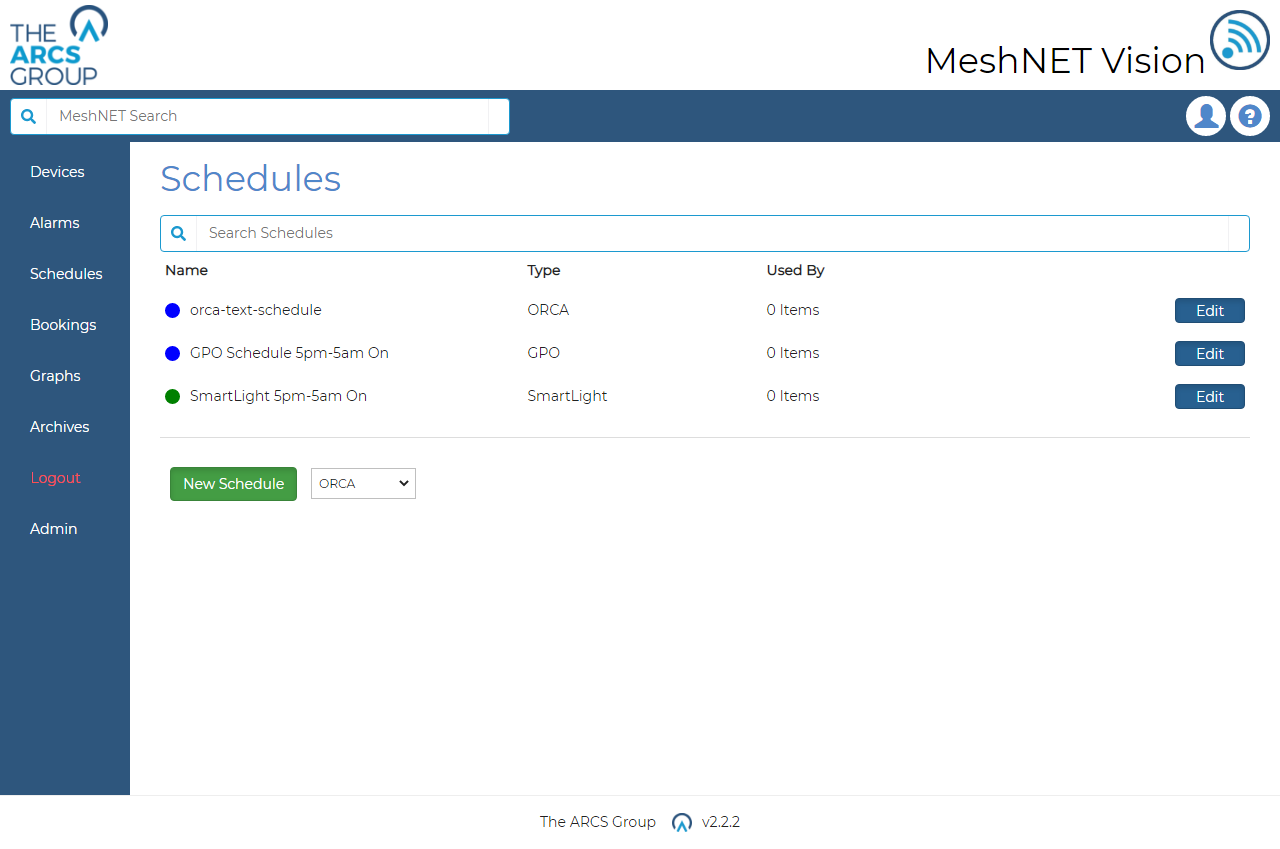
Schedules can be used to automatically change the state of groups and devices over a daily cycle using certain triggers. Users can view all the current schedules in the system by navigating to the schedules page by selecting the "Schedules" link in the dropdown menu (see Figure 3). As seen in Figure 23 each schedule has a configurable name and colour. We can also see how many items (device and groups) are implementing the schedule currently. Note this count only considers items in overridden command mode i.e. top level inheritance items. Each schedule also has a button to edit or view the schedules depending on the permissions of the user which will take the user to the schedule settings page. Figure 24 shows an example of a schedules setting page for smart lights. From here the user can update schedule settings and save changes or delete the schedule. These schedule settings pages vary depending on the device type and the capabilities of the device type. The device specific sections explain the scheduling functionality and parameters for each device type.
Creating Scedules#
Below the schedule list in Figure 23 we have a selector to create new schedules for various device types. This will take users to a schedule settings page for a new schedule of the selected device type. Schedule settings for specific device types will be explained in the device specific section. Once a user has set the desired settings the user can save the new schedule. New schedules can also be created for an items schedule page (see Figure 25).
Assigning Scedules#
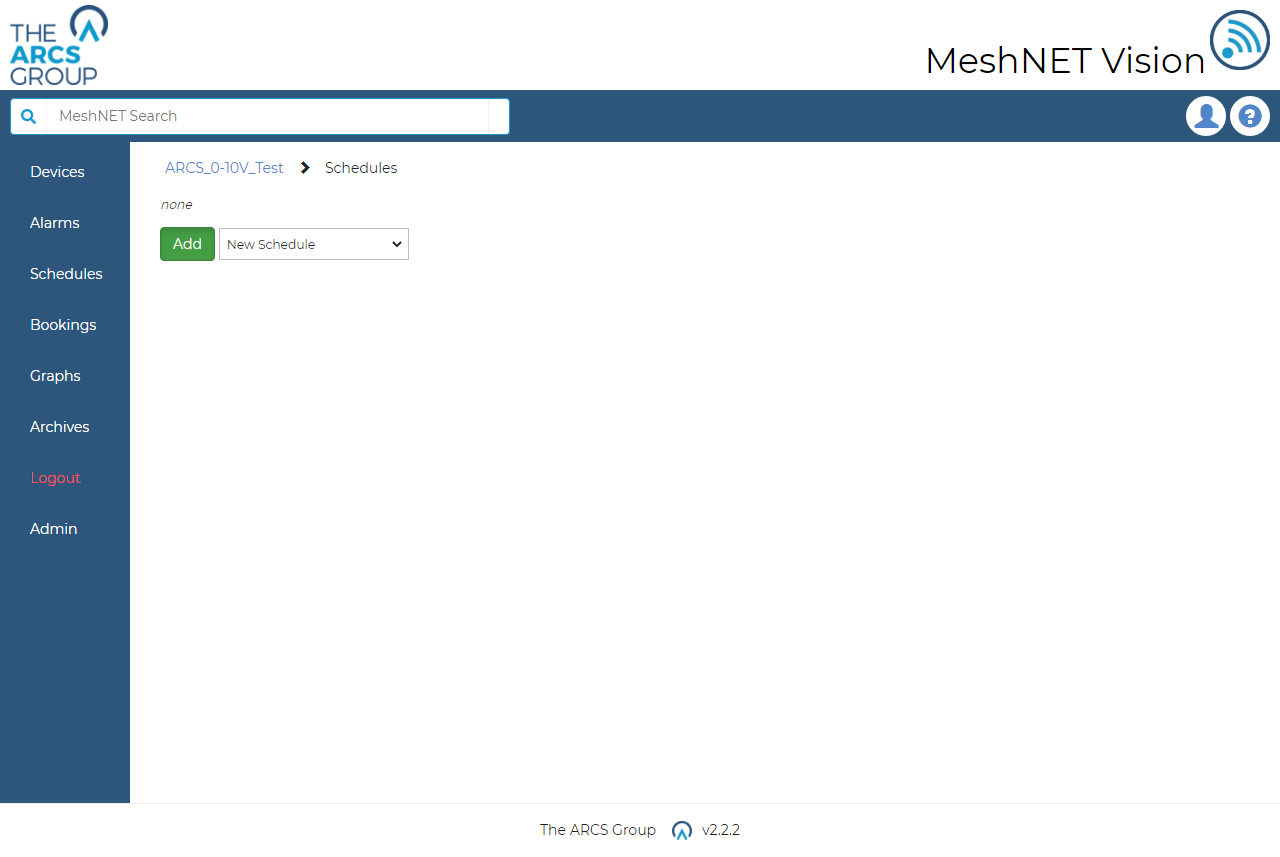
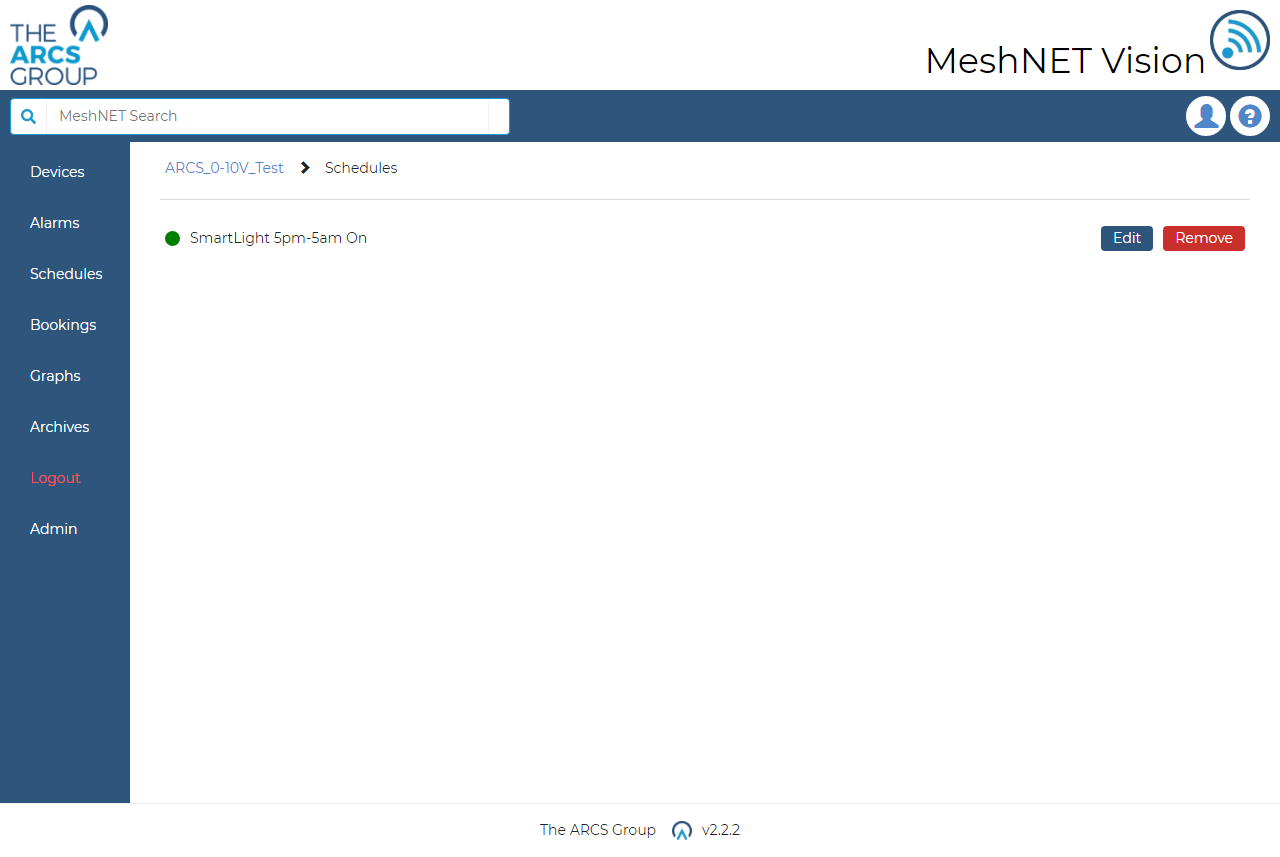
To assign a schedule to a device or group the user must navigate to the device or group's page and click the "Schedule" link on the control panel (see Figure 11). The user will then be taken to the device/groups schedules management page as seen in Figure 25. The user can use the dropdown selector to select the desired schedule from the systems existing schedules and assign it to the group. The user may also choose to create a new schedule for the item. If the user creates a new schedule, they will be directed to the schedule setting page such as seen in Figure 24. After choosing the new schedules parameters and saving the schedule will be assigned to the group/device. Once a group/device is assigned a schedule the schedule management page will appear as seen in Figure 26 with the added schedule present. The user may use the provided links to remove or edit the current schedule. Note: editing a schedule will affect all devices and groups using that schedule as well. To activate the assigned schedule users must return to the device/groups page and toggle the control mode button (see Figure 11) to auto. From then the group or device will start to be automatically operated by the set schedule and the manual controls will be disabled.