User Groups
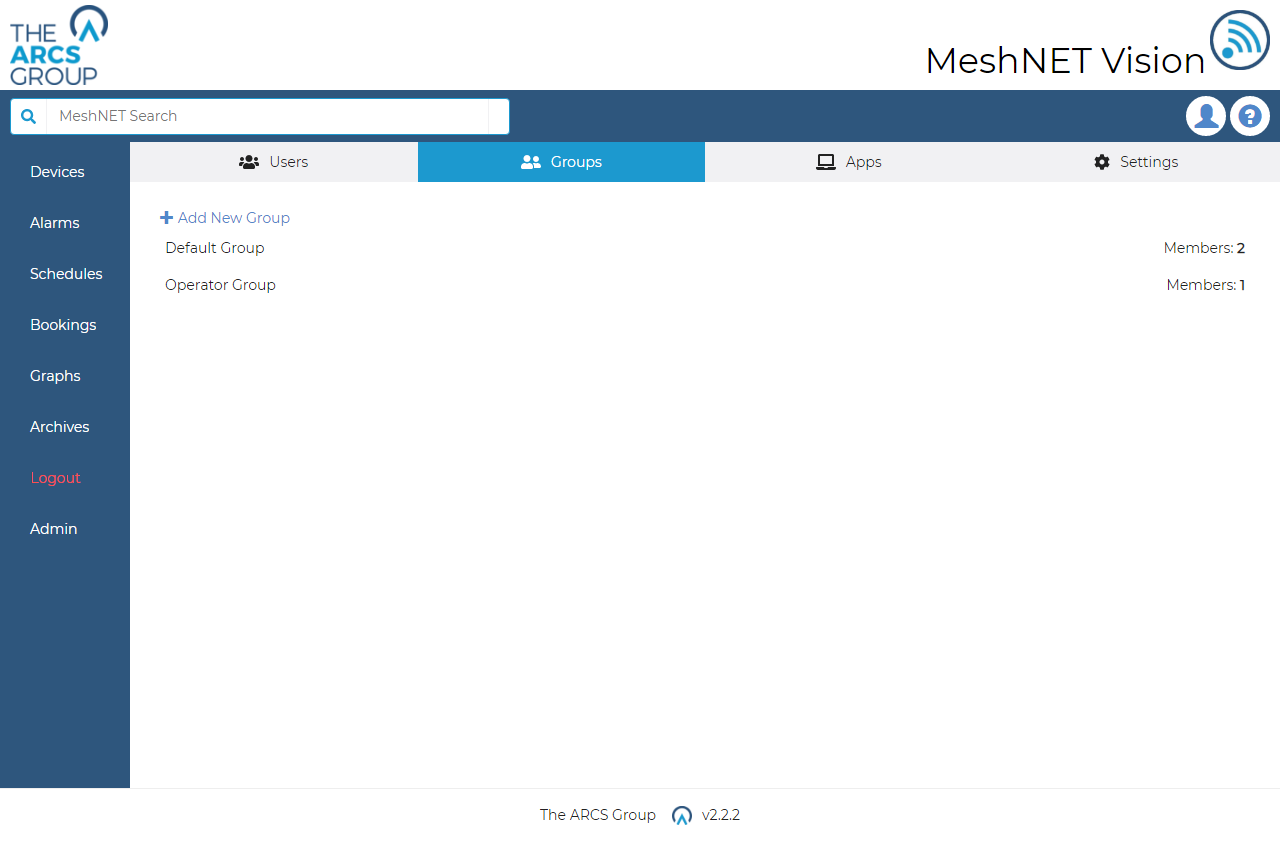
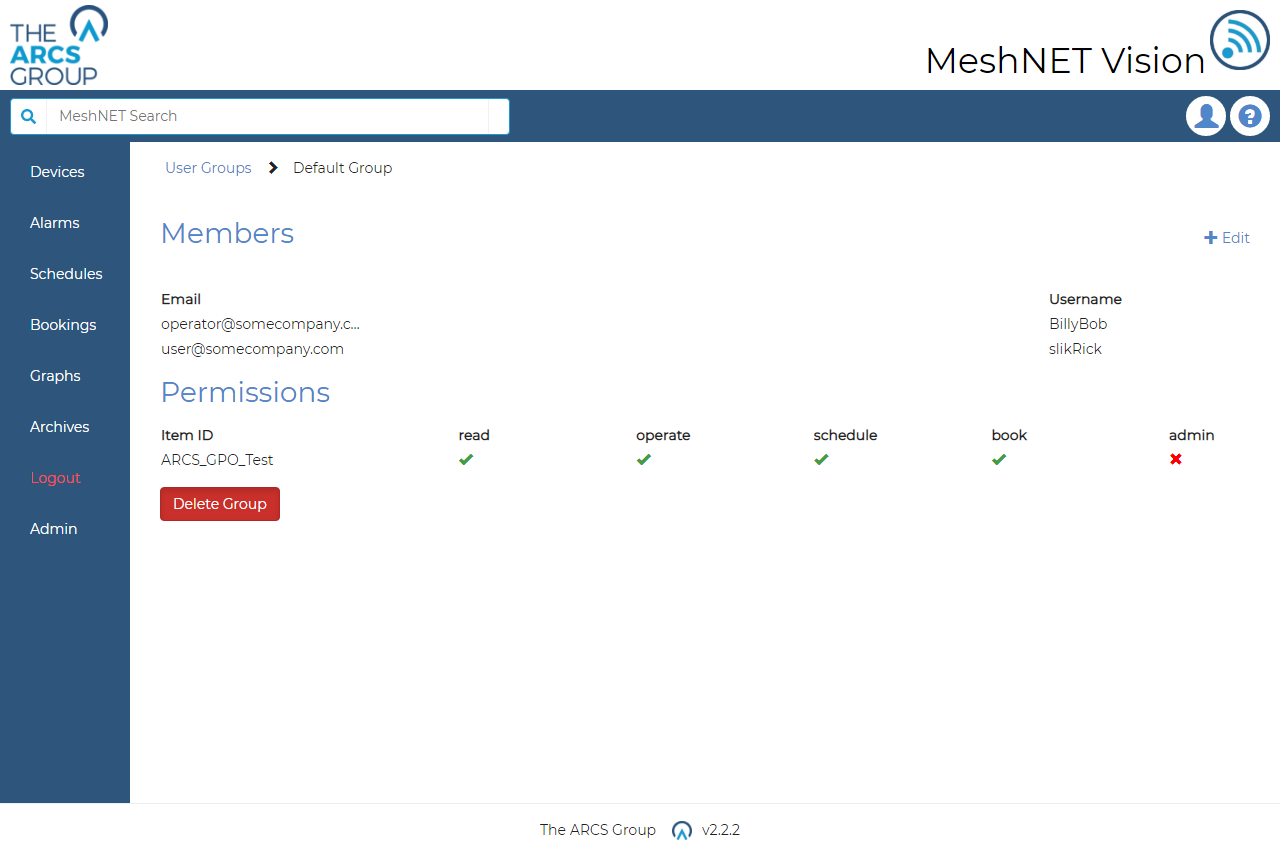
Administrators (see 12.1) can make user groups to group users that they wish to assign similar permissions to. To view existing user groups admins can navigate to the user groups page (see Figure 39) by selecting "Groups" in the admin section of the navigation dropdown menu (see Figure 3). For here admins can see all user groups including the number of members in the group. Users can select a user group to view the groups own page (see Figure 40) where admins can see the emails and username of the group's members and the current permission placed of the user group.
Creating User Groups#
From the user groups page such as in Figure 39 admins can create new user groups by selecting the "+ Add New Group" link in the top right corner of the page. Admins will be directed to the edit/create page for user groups (see Figure 41) where the admin must assign an ID and add the members they wish to belong to the group.
Editing user Groups#
Admins can edit which users are members of a user group by navigating to that user groups page (see Figure 40) and selecting the "Edit" link at the top right of the page. This will direct the admin to the edit user group page which is similar to that seen in Figure 41 but without the ability to set an ID (user group IDs cannot be changed at this stage). From here admins can add and remove user by checking and unchecking the add box in the user list and submitting.
Deleting User Groups#
From the a user groups page such as in Figure 40 admins can delete the users group by selecting "Delete Group" at the bottom of the page. A modal will appear asking the admin to confirm the deletion. Once deleted all permissions for that user group will be lost.